Let’s have some color fun with Ralph Lauren through these easy steps! We’re talking about a tie-dye experience that will turn our look to a more fun and refreshing one. Our creative House is helping us to do so through some guidelines to get their products to look even better or any other piece we want to bring to life.
1. You need to get your kit ready. You might find an all-ready dye kit at a near crafts store that you can order in, but if you prefer making your own natural dyes, you can check the US Forest Service for info. Whichever way you choose to go with at the end of the day you’ll need: colored dyes, squeeze bottles, rubber bands and gloves, and something to dye (of course!). If you want, you can also get soda ash and dye fixative.
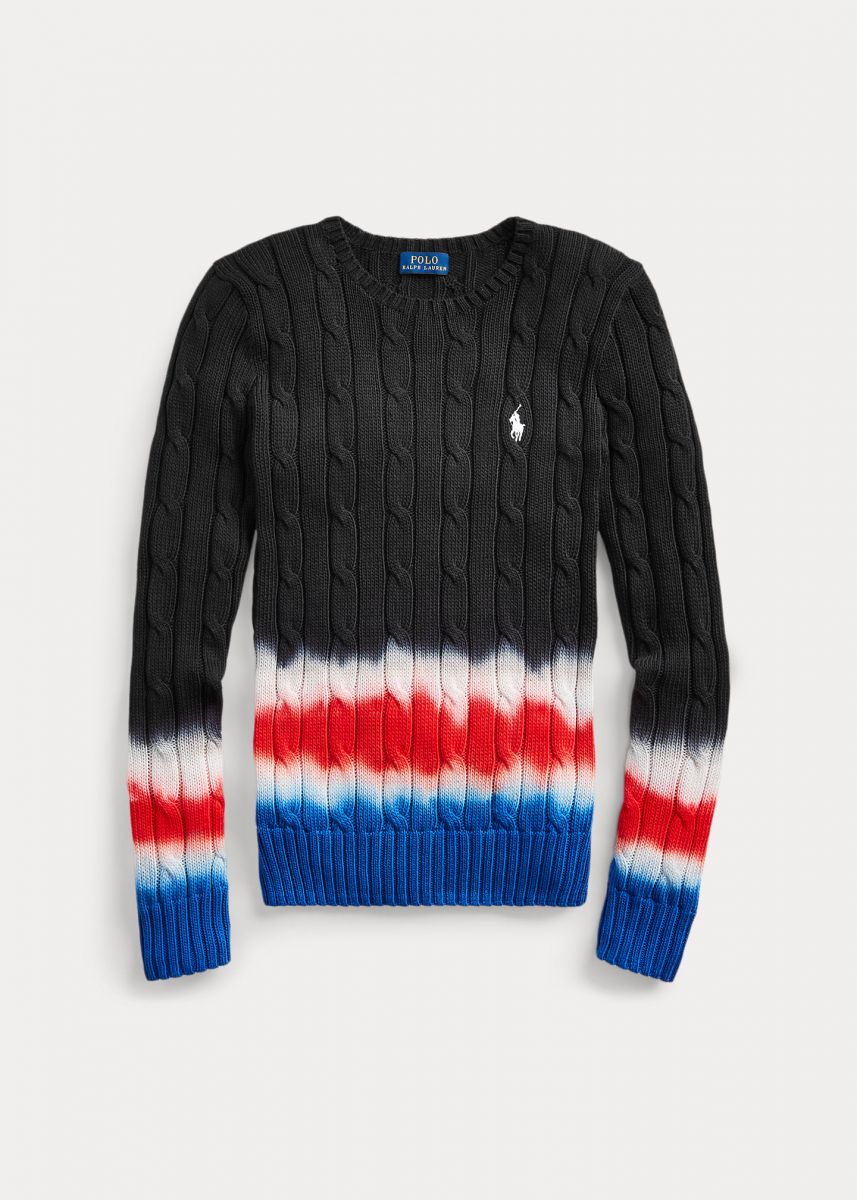
2. To choose your canvas make sure it’s a piece made entirely – or at least mostly – from natural fibers like cotton, linen, and wool. Take into consideration socks, hoodies, sweatpants or a cotton mesh Polo shirt…
.jpg)
3. Soak your piece in warm water and soda ash if you’re using any, but make sure it’s not soaking wet.
4. Find a good place to work without messing up the whole house; like a large sink, the bathtub or outside if you a have a good spot. And if you can set a wire rack you’ll get better results because it allows excess dye to neatly drip off.
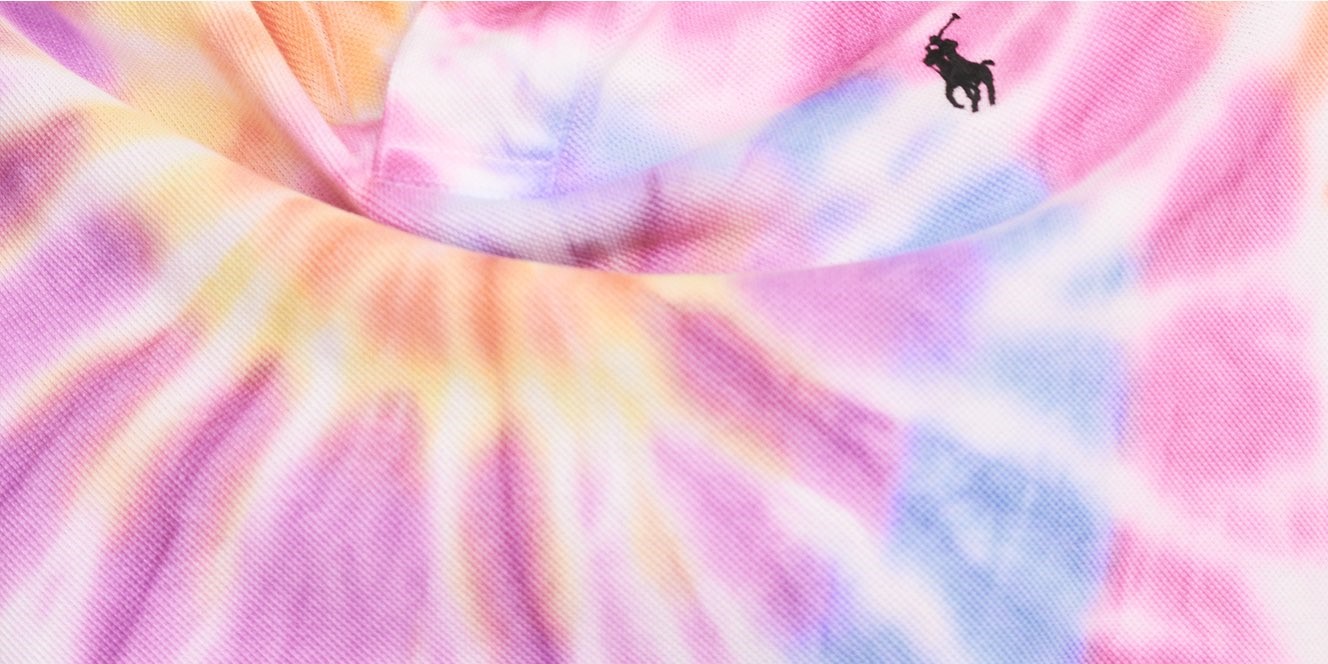
5. Put your gloves on and let’s get started with the patterns. You can try the standard swirl pattern by pinching the center of your cloth and spiraling it tight and then hold it with a rubber band. You can also pinch several small sections instead and tie them like little mushroom heads to create circle effects. But hey, you can always do random tying and get creative your way!

6. Now grab your dyes as we finally got to the coloring part! Mix and match your colors for special results and start pouring them on the tied sections you made. Why not blend some colors as well? But be careful not to overdo it so the result won’t be all muddy.
7. Place your masterpiece(s) in a plastic bag and let it rest according to your dye’s instructions. And if you chose to use a fixative now is the time to check its instructions as well.
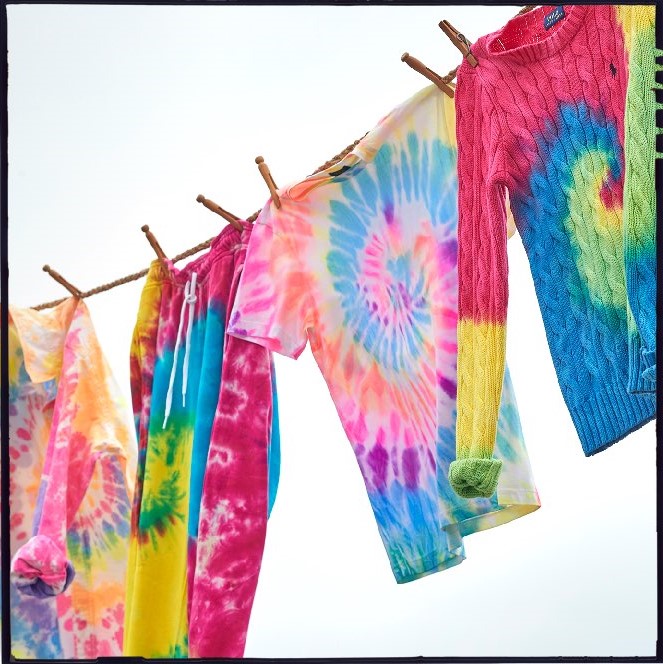
8. Once the waiting is over, remove the rubber bands and reveal the beauty under the ties! Of course, first, you still need to rinse your masterpiece thoroughly and machine-wash it – individually – to get rid of the excess dye so you’ll be able to wear it.